Creating rainfall events & distributions in Civil 3D
In Civil 3D’s Drainage Tools, rainfall data is the final input you need before running a meaningful analysis. The 2026.2 release adds new rainfall tools that make it easier to import IFD (Intensity–Frequency–Duration) data, build reusable rainfall libraries, and visualise temporal distributions before you commit them to an analysis.
This article walks through the complete process of creating rainfall data for use in Drainage Analysis, based on a worked example that uses both distribution‑based rainfall and IFD data from Bureau of Meteorology and AR&R sources.
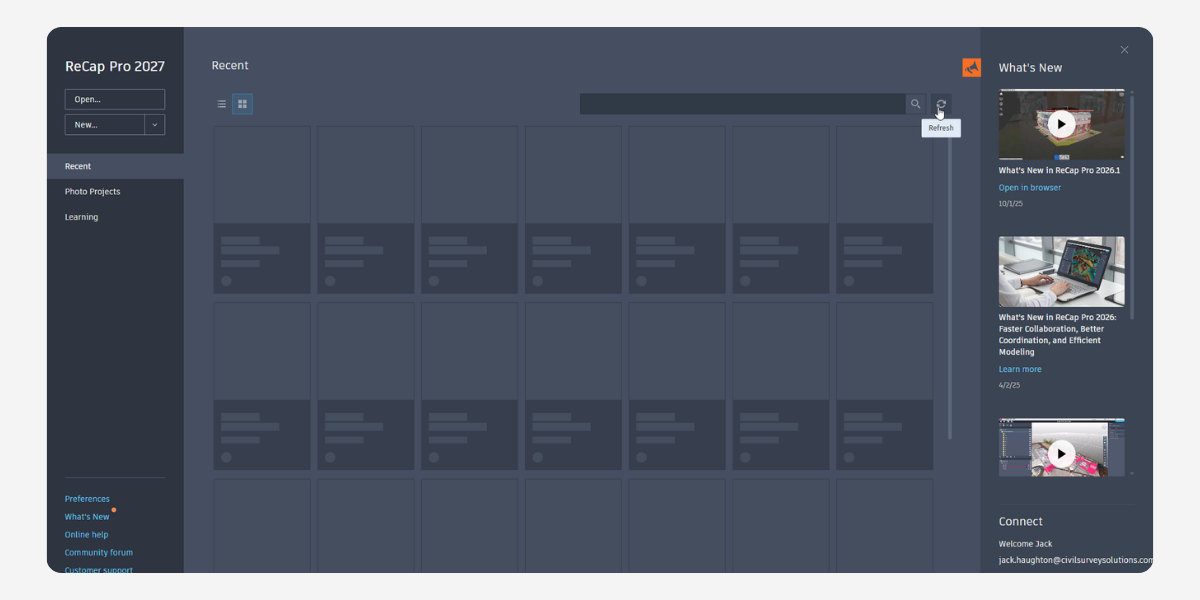
Accessing the Rainfall Manager
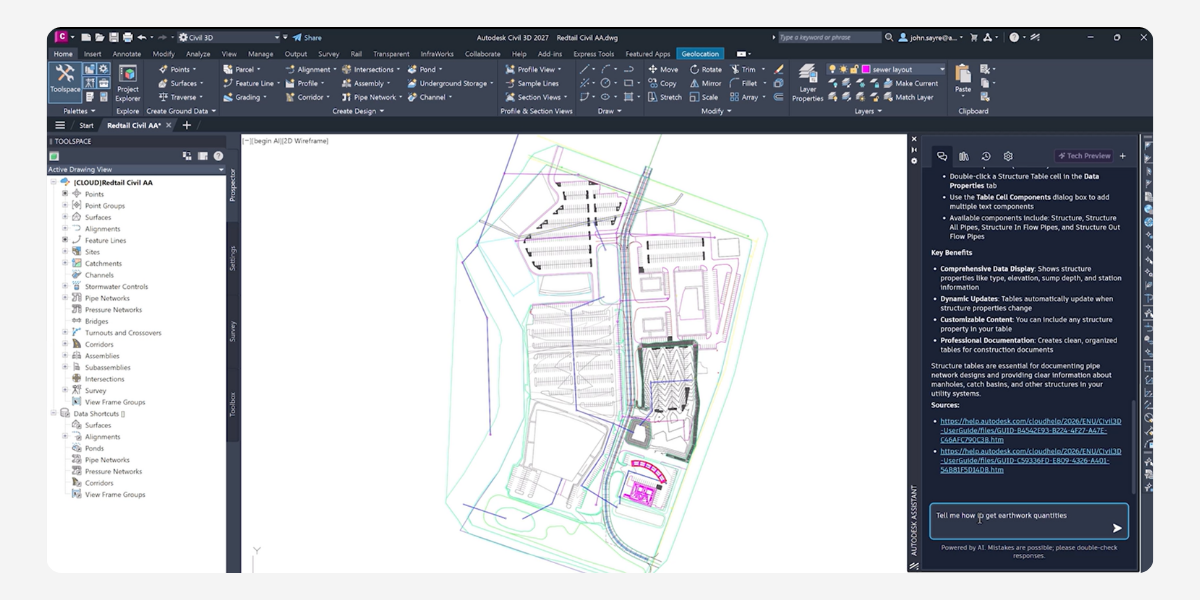
You manage rainfall through the Drainage Analysis tools.
You can open the analysis in two ways:
-
From the drawing
-
Select any drainage object (e.g. a pond, pit, pipe, channel, underground storage).
-
Go to the Analysis tab.
-
Click Analyse Drainage Systems.
-
-
From the ribbon
-
Go to the Analysis tab.
-
Click Analyse Drainage Systems.
-
When prompted, select any drainage object.
-
It doesn’t matter which connected object you select. Civil 3D will automatically highlight the entire connected system, including contributing catchments, pits, pipes, linked channels, underground storage and ponds. Anything not connected to that network (like an isolated pond) will be excluded from the analysis.
Once the analysis window is open, you can access the Rainfall Manager. If you haven’t defined rainfall for the project yet, you’ll need to set that up here.
Rainfall Libraries vs Rainfall Events
The new rainfall tools are built around the idea of libraries and events:
-
A rainfall library is a collection of storms. You can think of it as a container that defines:
-
One or more distributions (temporal patterns) (if relevant)
-
One or more events (intensity/depth for particular durations)
-
-
A rainfall event is a single storm definition used by the analysis. It combines:
-
A distribution (how rainfall is spread over time)
-
A total depth or intensity
-
A total runtime
-
The same distribution can be reused across multiple events (for different depths, durations or AEP/ARI).
Rainfall libraries can be:
-
Created from scratch
-
Imported from existing libraries
-
Exported and reused across projects
There are three types of rainfall libraries:
-
Distribution Based: Define rainfall distributions and create events of varying duration and intensity, referencing these distributions.
-
Known: Unique hyetograph data such as historic rain gauge data.
-
Intensity-Frequency-Duration (IFD): Defines the relationship between rainfall intensity/depth and duration for different AEPs.
It is important that you create a rainfall library compatible with your chosen Catchment runoff calculations e.g. IFD for Rational Method.
Option 1: Creating distribution‑based rainfall
Distribution‑based rainfall separates how the rainfall is distributed over time from how much rain falls.
You’ll typically:
-
Define one or more distributions (temporal patterns).
-
Define rainfall events that reference those distributions.
1. Create a new distribution‑based rainfall library
In the Rainfall Manager:
-
Create a new rainfall set.
-
Choose Distribution‑based rainfall.
-
Give your library a descriptive name (for example, Local AR&R Temporal Patterns).
This creates an empty library ready to receive distributions.
2. Create custom distributions
Distributions are the rainfall patterns (similar to AR&R temporal patterns) that describe how rainfall varies during the storm.
You can:
-
Manually type in values, or
-
Import a CSV file
Example A – Simple manual 10‑minute storm (percentages)
In this simple example, we set up a short storm using percentages:
-
Open Custom Distributions and create a New Distribution.
-
Set your options:
-
Time units: Percentage
-
Rainfall units: Percentage
-
Values: Absolute (you’re entering the values directly, not cumulative)
-
-
Complete the Table.
-
Save/add the distribution.
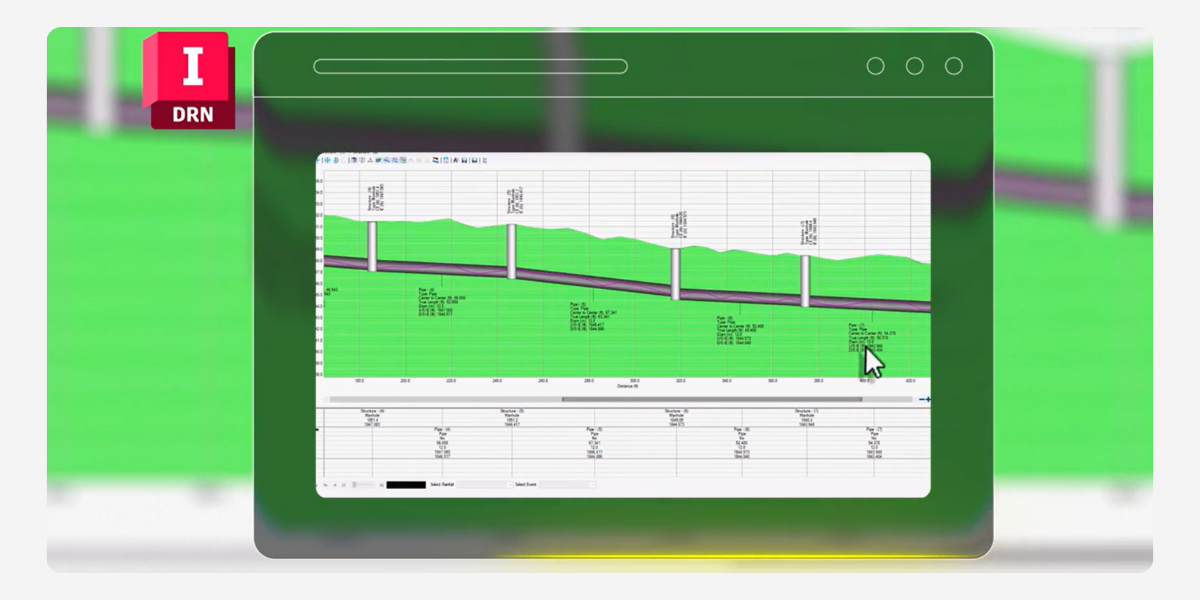
You’ll now see it listed, and Civil 3D will generate a graph so you can visually confirm the shape of the storm.
Note: Although we’re calling this a “10‑minute” storm for convenience, at this stage it’s just a pattern defined in percentages. The actual duration is set later when we define the rainfall event.
Example B – 60‑minute storm using minutes & cumulative values (CSV import)
For longer‑duration storms or detailed AR&R patterns, it’s more practical to import from a CSV, especially if you have lots of time steps.
-
Create another New Distribution.
-
Change the options:
-
Time units: Minutes
-
Rainfall units: Cumulative
-
-
Import the CSV file.
-
Add/save the distribution.
3. Converting AR&R data to importable format
When working directly from AR&R temporal patterns (e.g., from AR&R Data Hub), you often need to reformat the data before import.
-
Create a new sheet in Excel.
-
Set up the first column as Time (e.g., 0, 5, 10) in either minutes or percentage.
-
Transpose the AR&R data so the rainfall values align with the time increments.
-
Save the file as a comma delimited CSV.
4. Defining rainfall events from distributions
At this stage, your distributions describe how rainfall is spread over time, but they’re not yet storms. To make them usable in analysis, you must define rainfall events.
-
Go back to the Rainfall tab within the same rainfall library.
-
Click Add Rainfall Event.
-
For each event, specify:
-
Name
For example: 5 min storm – 20% IFD -
Distribution
Choose from the list, e.g. your manually created “10‑minute” distribution. -
Total depth or intensity
For example: 11.7 mm. -
Total run time
For example: 10 minutes (typically you’ll choose a runtime appropriate to your temporal pattern and analysis method).
-
-
Save the event.
You can repeat this for your 60‑minute distribution:
-
Add another rainfall event.
-
Choose the 60‑minute distribution.
-
You’ll see that the default duration is 60 minutes (from the way the distribution was defined).
-
Assign a suitable total depth and total run time for that storm.
-
Save.
You now have:
-
One rainfall library
-
Multiple events (storms)
This library can be made much larger and exported/imported between projects as needed.
Option 2: Creating rainfall from IFD data
The 2026.2 update also introduced the ability to import IFD (Intensity–Frequency–Duration) tables directly, which is particularly suited to rational method analyses.
1. Start an IFD rainfall set
In the Rainfall Manager:
-
Add a new rainfall set.
-
Choose IFD rainfall.
-
Give it a name (or leave the default to start with).
2. Prepare your IFD file
IFD tables are often downloaded from the Bureau of Meteorology. Once downloaded:
-
Open the file in Excel.
-
Remove any header text that isn’t part of the numeric table (descriptions, metadata blocks at the top, etc.).
-
Arrange the data so that:
-
The first column is Duration in minutes (e.g. 1, 2, 5, 10, 20, 30, 60, …).
-
The header row across the top lists AEP/ARI in years, not percentages.
-
For example: 1, 2, 5, 10, 20, 50, 100 (these represent 1‑year, 2‑year, etc.)
-
-
The table body contains the corresponding depths or intensities.
-
3. Import the IFD data
-
Ensure the rainfall data type is set to match your CSV e.g. Depth or Intensity.
-
Choose Custom file.
-
Browse to the edited IFD file and import it.
-
Save the IFD rainfall set.
Civil 3D will:
-
Read the durations (minutes) and ARI columns (years).
-
Plot a series of IFD curves showing depth/Intensity vs duration for the available ARIs.
You can confirm visually that the imported curves look reasonable.
Summary
Creating Rainfall Events is a crucial part of the Drainage Analysis process. First the correct rainfall type must be selected based on the other elements such as catchment runoff methods in the network. Then, the data must be formatted correctly and imported. Once, the rainfall has been defined, it is ready to be selected in the Drainage Analysis.
About The Author

We are the leading provider of civil engineering and survey software solutions and services in Australia.