Making Existing Drawings Smarter – Converting to Annotative Objects and Managing Viewports
Many teams already have large libraries of legacy drawings built with non‑annotative text, dimensions, and blocks. Starting fresh with annotative objects is ideal, but often not realistic. The good news is that AutoCAD lets you convert much of your existing content to annotative and then manage it effectively in layouts and viewports.
Converting existing text and dimensions
For plain text and dimensions, the conversion path is fairly straightforward:
-
Update or create annotative styles
Make sure you have annotative text and dimension styles that match your current plotted standards (text heights, arrow sizes, etc.). -
Apply annotative styles to existing objects
-
Select existing text and change its style to your annotative text style.
-
Select existing dimensions and change their dimension style to an annotative style.
-
-
Mark objects as annotative (if needed)
If changing the style alone doesn’t make objects annotative, use the Properties palette and set Annotative = Yes for the selected objects. -
Add relevant annotation scales
With the objects selected, use the Object Scale controls to add the annotation scales at which those objects must appear (for example, 1:100, 1:200).
AutoCAD creates multiple “representations” of each annotative object, one per scale. It switches between these automatically based on the current annotation scale in model space or the viewport scale in layouts.
Converting hatches and blocks
Existing hatches and blocks can also be made annotative:
-
For hatches, select them and enable Annotative in the Properties palette, then set the target scales.
-
For blocks, you may need to edit the block definition and enable annotative behaviour:
-
Redefine or create a block with Annotative checked.
-
Insert the block, then assign annotation scales as required.
-
This allows standard symbols (for example, north arrows, section markers, utilities) to maintain a consistent plotted size across multiple viewports and drawing scales.
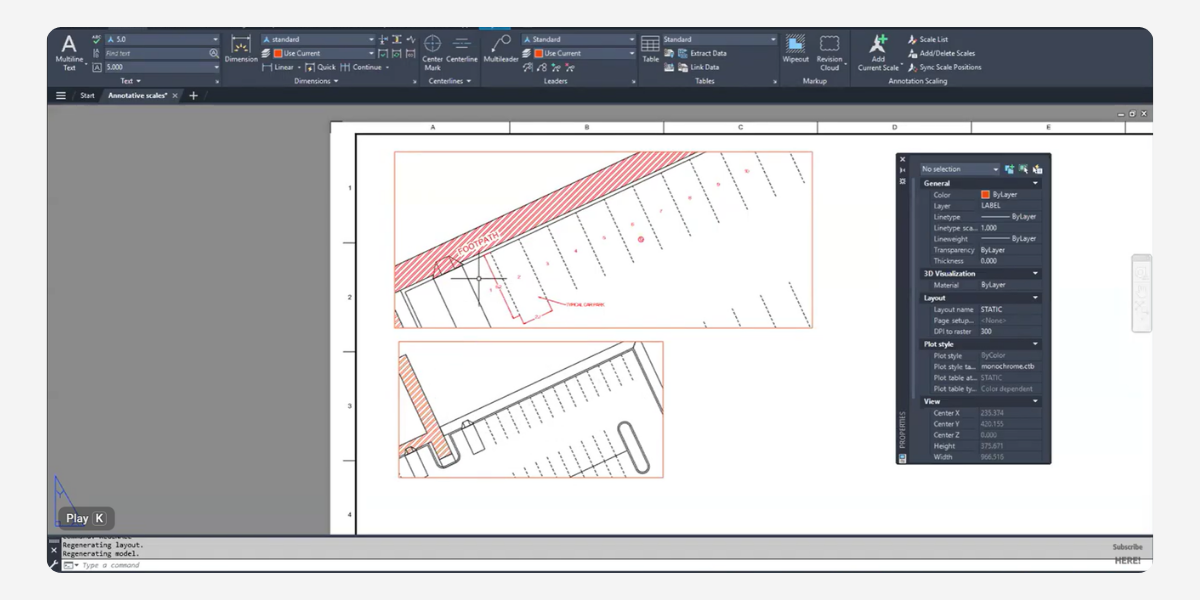
Managing scales in viewports
In layouts, each viewport has its own scale, and annotative objects will only appear if that scale is assigned to them. Key aspects to manage:
-
Viewport scale – Set this to a standard annotation scale (for example, 1:100).
-
Object scales – Ensure the same annotation scale is added to all objects you expect to see in that viewport.
-
Reset annotation location – If labels are moved in one scale, they can shift for others. Use the reset options when needed to tidy annotation positions per scale.
You can also control which annotation scales are attached to which objects, so a particular label might only appear in detailed viewports and not in the overall plan.
Summary
The transition from non‑annotative to annotative isn’t just about adopting a new feature; it’s about modernising your whole presentation workflow. Once your legacy content is converted and your viewports are driven by annotation scales, it becomes much easier to produce consistent, professional sheets from a single, well‑structured model.
About The Author

We are the leading provider of civil engineering and survey software solutions and services in Australia.